Garage Organization 101: The Whole Process From Start to Finish
The garage is one of those spaces in the house that is so useful for storing things you don’t necessarily use all the time, and for a lot of people, also serves as a workshop of some kind.
But it’s also a space that, because it’s intentionally a bit “out of sight” can easily pile up into an organizational nightmare without you really realizing it.
When your garage gets to that point, it’s easy to get overwhelmed at the prospect of decluttering and organizing it that getting started feels daunting.
To help guide you, here’s a walkthrough of a garage organization session I had with a client, from start to finish.
Working with Rebecca of Studio Plumb on Her Garage
The day before I shut down my normal in-person business operations and went into full-on quarantine mode due to COVID, I had a garage organization session with one of my favorite people: Rebecca Plumb. If you’re not familiar with her interior design work at Studio Plumb, be sure to follow her immediately for all things mid-century modern design.
Rebecca and I had worked together before during past One Room Challenges.
Her pantry was one of my favorite collabs of all time, and was part of her kitchen renovation. I also helped her get organized in her entryway & laundry room following her renovations in the last One Room Challenge.
This session was a little bit different - we were tackling her garage to prepare for her upcoming One Room Challenge.
The whole goal of this project was to make sure that her garage was as organized as possible, which would make the process of ORC much more smooth for everyone involved.
During the challenge, things get really hectic.
Whipping the garage in shape made sure that there was a clear workspace in the garage, items have a home and are easy to find (avoiding the need to re-buy items unnecessarily), and hopefully reduce stress in the process!
I’m excited to share the details of our session with you, as most client sessions are more “closed” and I’m not taking photos throughout our time together.
Hopefully you can use this process in your own garage (or really - any room in your home) to declutter and give items homes, making it a breeze to tidy up.
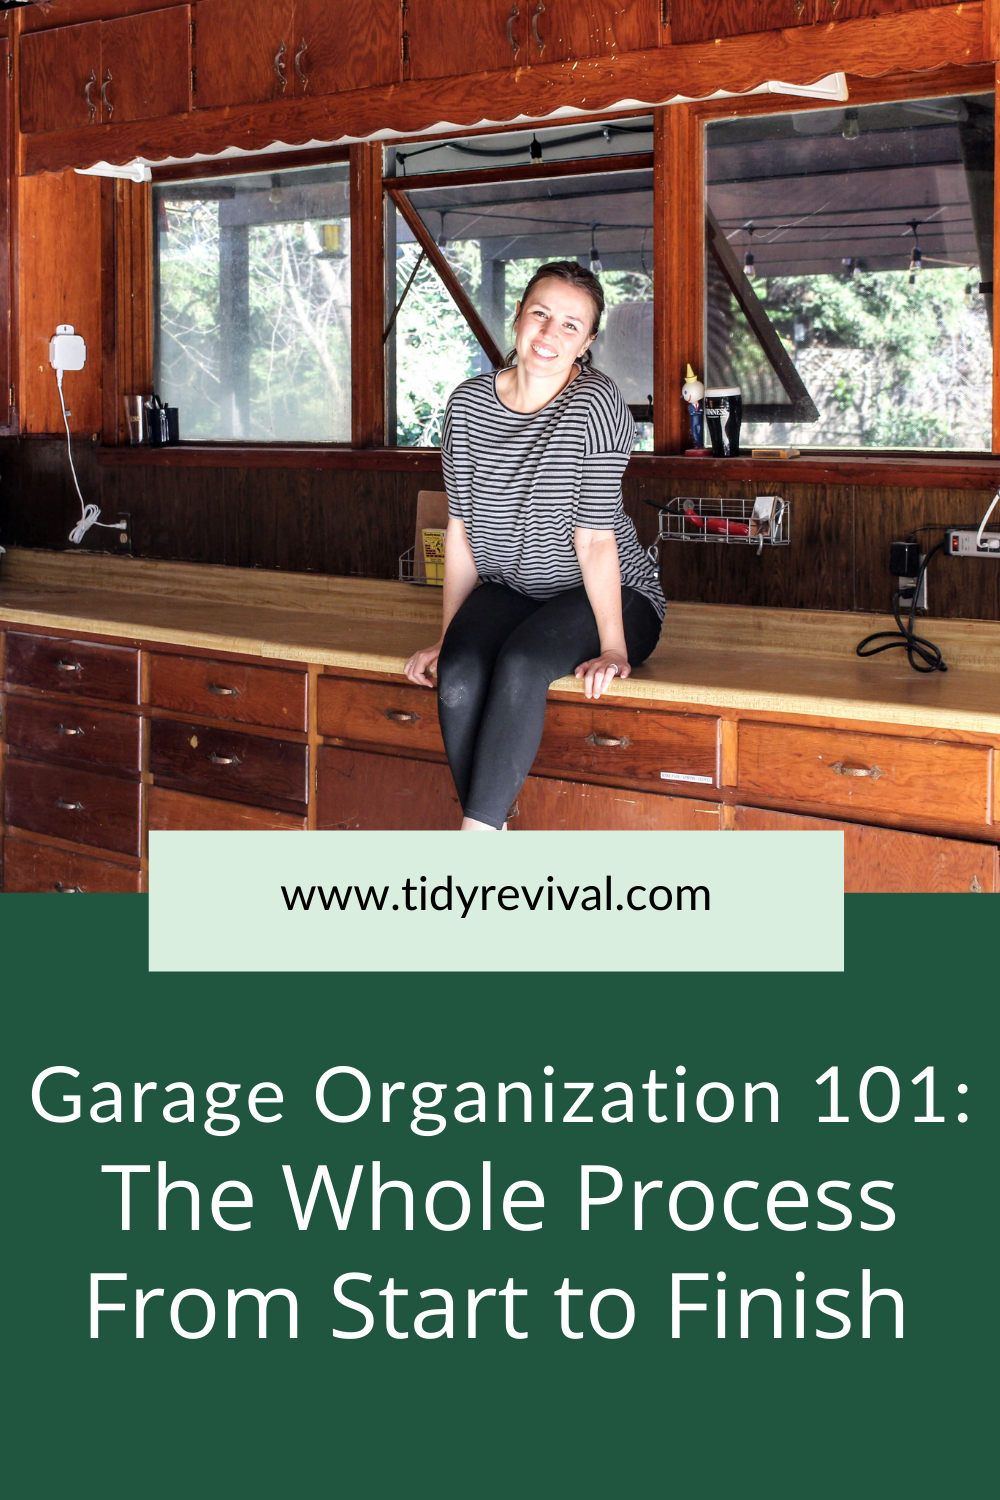
State of the Garage “Before”
Cluttered workspace
Random paint cans and misplaced tools
Unutilized storage cabinets and spaces
Garage Organization Goals
When you start an organization or decluttering project, it is important to be clear about your goals. You will have easier time staying focused and have a clear idea of when your project is complete.
A biggest goal of our garage organization session was to clear off the workbench so it was an open workspace for the One Room Challenge.
We also needed to make all supplies easy to find, and give them a home.
Before we got started, there were a few things that were sorted together, but many items were here, there & everywhere.
Our session was only three hours, so we knew we had to act fast if we wanted to make a lasting change in one session.
The Garage Organization Process
STEP ONE: DECLUTTER & SORT ITEMS ALONG THE WAY
The majority of our time was spent clearing off the counter, cleaning out the cupboards & drawers, and categorizing items.
We were able to toss a good amount of old supplies that had either expired, were one-off items that weren’t needed anymore, etc.
We also sorted old paint for recycling, and set aside some items to be donated at the Sacramento ReStore, which benefits Habitat for Humanity.
STEP TWO: CLEAN YOUR GARAGE STORAGE AREAS
Because we were working in a garage, it wasn’t as important to make sure each surface was 100% dirt or dust-free.
But we did want to make sure we were giving each space a nice wipe out to remove debris that may have built up over the last couple of years.
You can do this at home with damp or dry rags.
STEP THREE: CONTAIN & ORGANIZE THE GARAGE ITEMS YOU’RE KEEPING
This is everyone’s favorite part - the organization supplies!
For Rebecca’s storage, I brought a selection of items that we were able to choose from as needed.
I made sure that they were all sturdy and budget-friendly, as garage items tend to get storage dirty quickly - we don’t need it to be Pinterest-perfect, we need it to be functional!
To keep Rebecca’s drawers organized, we used the Interlocking Drawer Organizer Set by Room Essentials for Target. At under $10 for an 8-piece set, it’s a bargain.
We made sure to utilize bins Rebecca already had, but the go-to bins we pulled as needed were these Latching Storage Bins by Made by Design for Target. The medium size is only $7 and works well in many spaces. I also brought a supply of one of my favorite items, the Variera bins from IKEA - great for sorting items in cupboards and in deeper drawers. The larger size is just $4.50, and they’re super sturdy.
Last but not least, we labeled the drawers to make sure things were easy to find during the challenge.
These labels might not be the long-term solution, but they’re easy to peel off when they’re not needed anymore. Inside of the cabinets, we also labeled the shelving so things were easy to put back at the end of each day.
The Garage “After”
As you can see, we made huge progress in three hours!
During our garage organization session we:
Cleared off the tool bench
Organized all the cabinets and drawers
Got rid of a bunch of trash & recycling, expired & broken supplies, old paint, and ReStore donations
I’m so excited for Rebecca, and am cheering her on as she’s completing her current One Room Challenge - transforming her master suite! The mock ups look amazing, I can’t wait to see how it turns out.
Be sure to follow along on her Instagram - she loves posting behind-the-scenes and often asks for feedback from her community - so it’s a really fun group to be part of!
Are you planning on cleaning out and organizing your garage soon? Be sure to check out my Garage Organization Workshop, part of my Tidy Tips Workshop Series. This workshop includes all my top tips to get your garage decluttered & organized, as well as worksheets and a shopping guide to help save you time! Click on the image below to learn more.


